How to Install WordPress Using Softaculous?
- Updated: 12 January 2023
How to install WordPress using Softaculous? WordPress is the most popular free website creation tool on the internet.
One of the reasons for its popularity is the ease of installation – and Yes! you have read it correctly it is very easy to install WordPress. As easy as filling in the details of your website, like name, choose the domain, choose a user name and password, and voila! You are done and in less than five minutes your website will be ready.
If your web host doesn’t provide auto-installers click here to read How to install WordPress using FTP

Almost all web hosts (at least the popular ones I have used in the past few years do) provide one-click app installers like Softaculous and Fantastico. These one-click app installers give users the option to install tens (hundreds in one or two cases) of applications just in a few clicks with very clear instructions. Here I am showing how to install WordPress using Softaculous auto-installer.
Requirements
First of all, there are a few basic requirements in order to install WordPress, I am sure you did not see that coming, did you? You will need a web host and domain name.
Go shop around if you already don’t have one. Make sure, you don’t fall for the unlimited $5 per month plan trap. Understand your needs, your website and visitors then purchase a hosting plan. I will soon review web hosting and domain seller in New Zealand and will link here.
How to Install WordPress using Softaculous?
Softaculous is probably the most popular auto-installer as most of the web hosts I have used are using this script to allow their users to install popular software.
Below is the step-by-step guide to installing WordPress using Softaculous which is always found in your cPanel.
Step by Step Guide
Log in to your cPanel by visiting your account on your web host’s website. Most of the time web hosts redirect you to your cPanel if you go to www.yourwebsite.co.nz/cpanel – you will require your cPanel username and password.
Click on Softaculous or in most cases the web hosts list the popular installations for quick access. Like my web host (see the screenshot below)
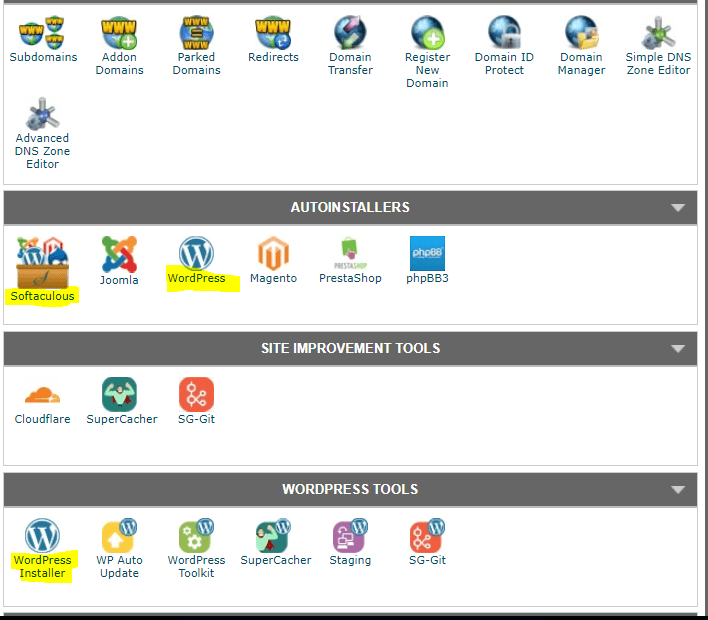
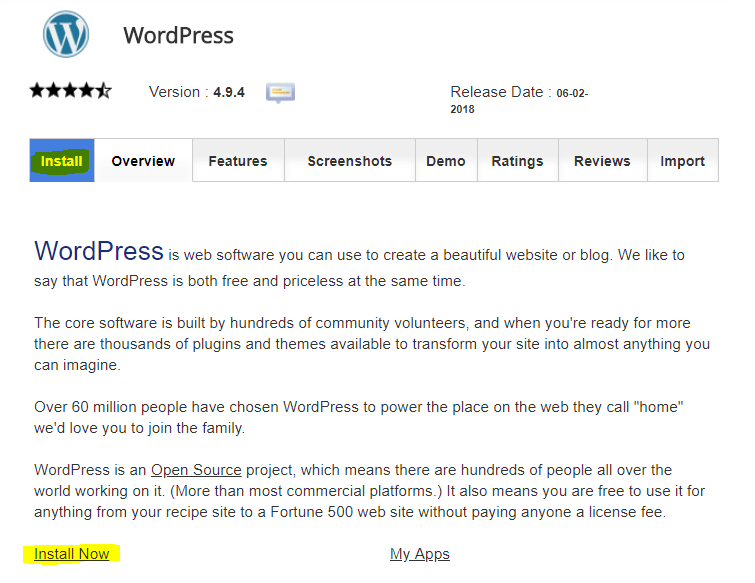
- If you click on Softaculous it will take you to its homepage where you can find WordPress under Blogs. Otherwise, click on WordPress in cPanel which will lead to WordPress installation page where you can click on Install either on top or bottom after reading the details.
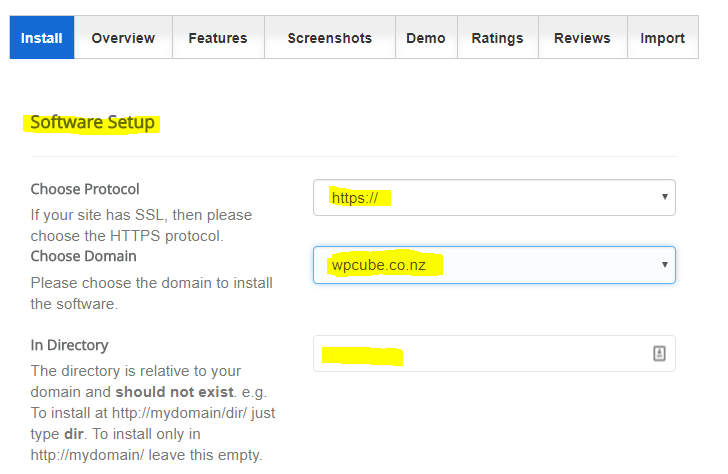
The next page will ask for website details. Enter the details as required. Choose a protocol, please make sure you choose HTTPS if your site has an SSL. Most providers now provide free SSL by Let’s Encrypt.
Contact your provider if you don’t what I am talking about here. Also, choose your domain and enter the directory name if you like it to be installed in a directory rather than your domain.
Meaning? if you want your visitors to see your website by going to www.yourdomain.co.nz then leave it empty otherwise enter a directory name in that case your website will be found on www.yourdomain.co.nz/directoryname/
Then some more details about your website. Maybe enable Multisite if you know what you are doing otherwise leave it unchecked. The password below is of no use.
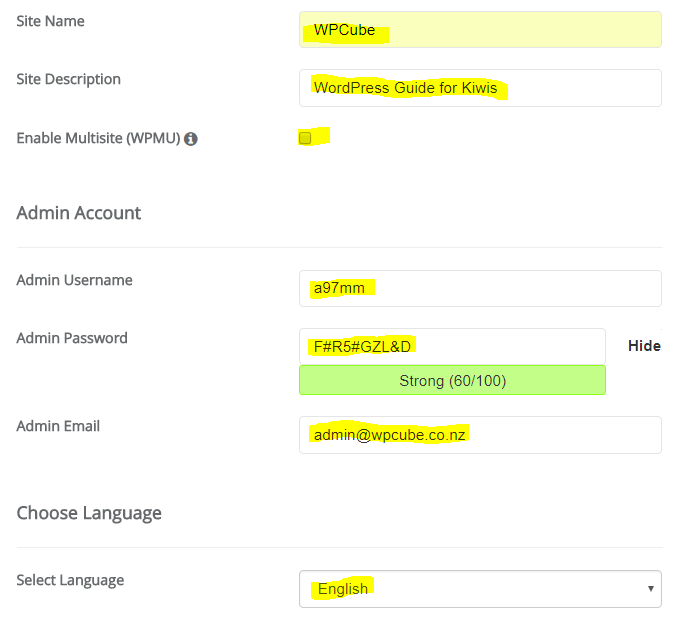
Some final details – these options may be different depending on your web host they may add their plugins and themes. I would rather not touch the advanced options because there is no need to. Just FYI, it asks you to choose a name for your database tables, don’t unless you know what you are doing.
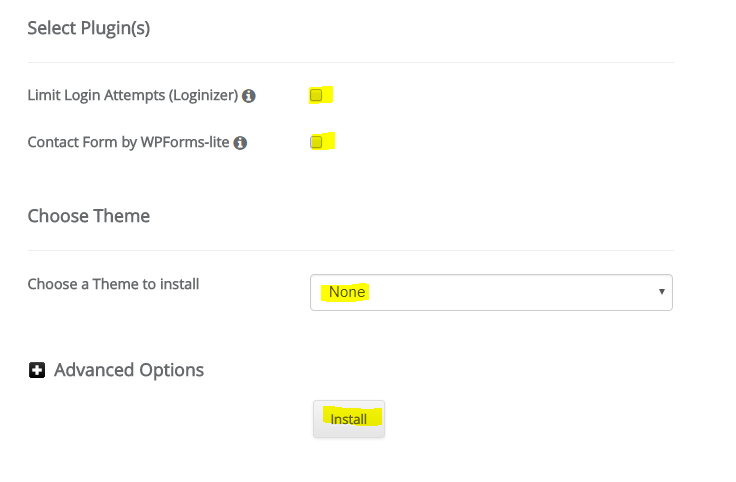
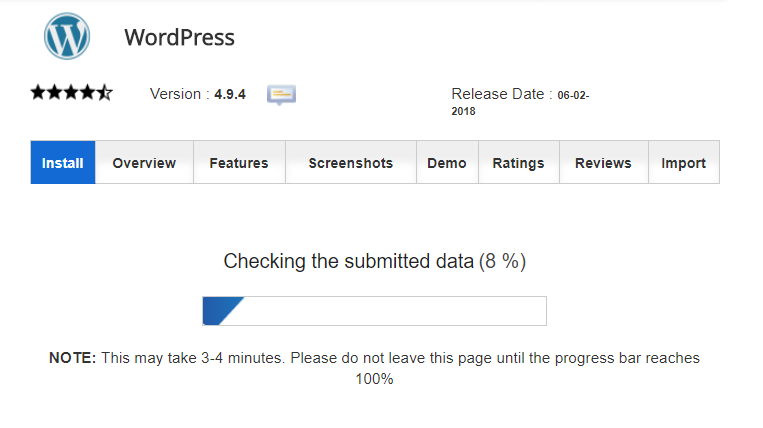
Action time..
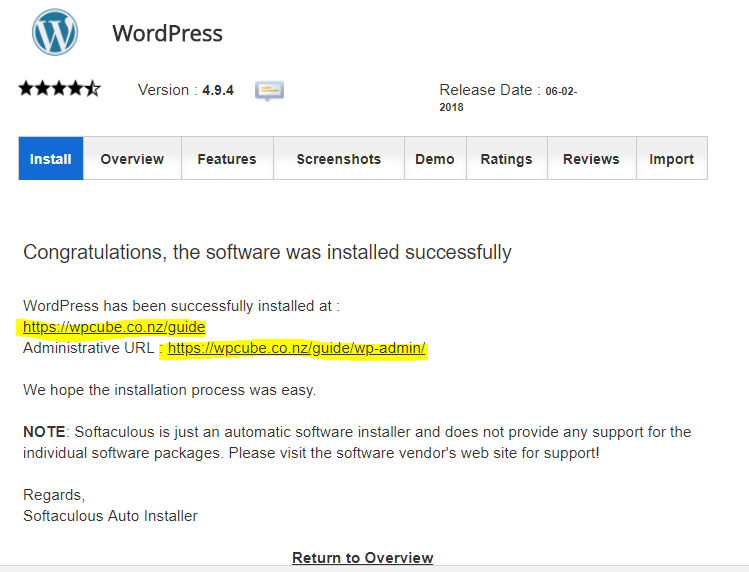
You will see the links to your home page and admin area after the installation is complete. Since I needed screenshots to complete this guide I had to install a temp WordPress in a directory. Therefore, you see the address below in the screenshot. You should leave the directory box empty unless you want to install it in a directory.
This article is just about how to install WordPress using softaculous. You can read my ultimate guide to WordPress installation here.
Newsletter
Signup for news and special offers!
Thank you!
You have successfully joined our subscriber list.


