How to add Google address autocomplete in WordPress for free?
Updated: 12 January 2023
This article will help you to add Google address autocomplete to any WordPress form using Simple Address Autocomplete plugin. When visitors to your website start typing an address, it will show a list of matching addresses.
This can be very helpful if you want to make sure visitors enter the correct address. This can help a wide range of websites offering delivery or pickup services and any website that requires address input.
The plugin, as the name suggests, is very easy and simple to set up. Within a few minutes, you have a will fully working form that can autocomplete addresses.
The plugin supports limiting the address to one specific country and as well multiple countries. If you want the search to work worldwide, it supports it. This has been tested with the most popular forms for WordPress. If you would like us to add a form how to please let us know in the comment.
Table of Content
The plugin uses Google’s Places API to autocomplete addresses. This is a service provided by Google Maps and comes with a very generous free tier. If you are a small to medium business/website, the free tier should suffice.
In this article, we will first get the Google Maps API keys and then enable the Places and Maps JavaScript APIs. When we have the API keys we will install and set up the plugin for the most popular forms on WordPress.
Get Google Maps API Key
To get the Google Maps API key we will need to have a Gmail account. If you don’t already you can go create a Gmail account. When ready come back and continue.
Visit the Google Maps Platform
On the top right click on the Get Started button (you will be asked to sign in if you are not already).
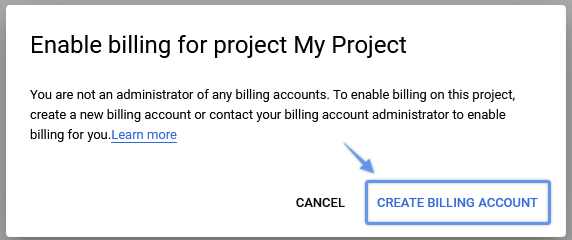
Google now requires a billing account to use some of its services including the Google Maps platform. Follow the steps below to create a billing account when you are prompted to create one.
Then choose your country.
Agree to the terms of service.
Then click Continue.
Confirm your contact number or add a new one.
Then click Continue.
Step 3 will be payment information. Provide your details, then enter your credit card details.
Then click Start My Free Trial button to finish the setup.
Once it is complete it gives you a $200 credit.
Create a new project
We need to create a project. Think of projects as keeping API keys separate, usually one would have a few projects.
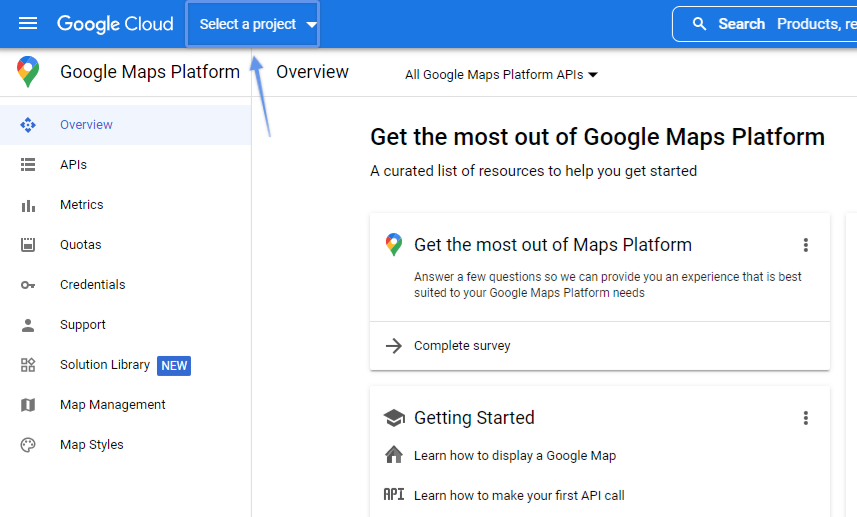
To create a project click Select a project
Then create a new project.
Follow the steps and fill out the details.
Enter a name for your project, something easy to know what it is about
Choose an organisation.
Then choose a location.
Then click Create.
You will need to repeat the step above to select the newly created project from the list.
Then click on APIs and Services on the left-hand panel.
Click on Enable APIs and Services
Then click on Enable APIs and Services
Then search for “Places API”
Then click Enable to enable the Places API.
Now we need to enable one more API, that is Maps JavaScript API.
Click on API on the lefthand panel
Then locate the Maps JavaScript API from the list.
Click on Maps JavaScript API then enable it.
You should now have two APIs enabled in the dashboard. Places API and Maps JavaScript API.
Create an API Key
Now the project is set up and we have enabled the required APIs for our plugin to work. Let’s create an API key that will authenticate against our account and let us use the service.
Click on Credentials
Then click on Create Credentials
Then choose API Key
You can copy and skip to Plugin installation. However, it is strongly recommended you complete the next steps to secure your API key.
Secure your API key
These API keys basically allow anyone to use your Google Maps account programmitically. This means if they fell into the wrong hands your bills will be hitting the roof.
These API keys are always visible on the front end of your website. Thus, you must restrict them to your domain so that others won’t be able to use them. Follow these steps to secure the keys.
We will simply tell Google which websites should allow these API keys to work. Anything else Google sees, will not be authorised.
Click on the API you just created
Name it, usually the website name.
Then under Applications Restriction select the HTTP referrers (web sites) option.
Under the Website restrictions option click to Add an item.
Enter your website with * before the domain and after the slash. *.wpcube.kinsta.cloud/*
This format assures it works on all subdomains and pages on your website.
Now that we have an API key we can go ahead and install the plugin. To install the plugin, simply go to the WordPress admin dashboard and add a new plugin.
Search for Simple address autocomplete
Then click on Install
When installed click to Activate it.
Enter API Key
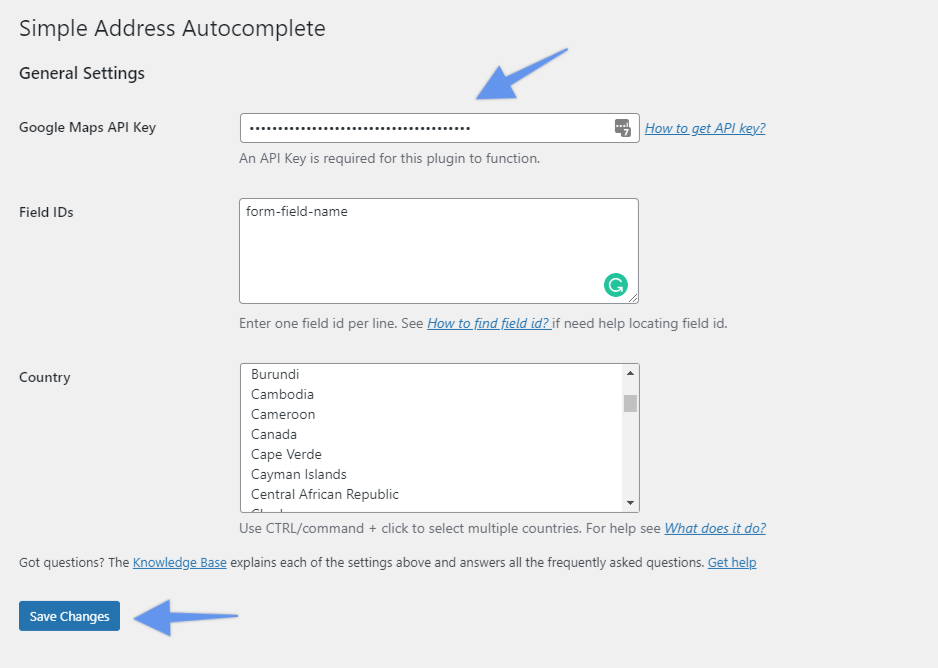
The first thing we need to do is enter the API key. To enter the API key follow these steps.
Go to the Simple Address Autocomplete settings page.
You can get to the settings by clicking on Settings menu in WordPress Dashboard and then selecting Simple Autocomplete.
Or alternatively, you can go to Installed Plugins and scroll down to Simple Address Autocomplete and click on settings.
Copy and paste the API key you obtained from the previous step in the Google Maps API Key box.
Then Save Changes as the next step will require going away from this screen.
Find and enter the field id
We need to find the field id where we want the Google address autocomplete functionality. Getting the field id is very simple.
Open the page the form is located.
Right-click on the field where you want Google address autocomplete.
Click inspect for Chrome and Edge browsers or Inspect Element for Safari and Firefox browsers.
The browser will open developer tools and highlight the line related to the field.
You should be able to see an attribute called ‘id’. This is usually a combination of letters, numbers dashes, and underscores.
Copy the value inside the quotes ” “.
Now that you copied the field id. Go back to the Simple Address Autocomplete settings page and paste the field into the Field IDs box. You can enter as many field ids as you like. Make sure, the field IDs are unique.
Then choose the country. Remember you can limit the search to one or multiple countries or worldwide.
Then click Save Changes.
We are done. Go check the field and try out the address autocomplete.
The plugin currently only supports single-line address autocomplete. Other updates are expected soon.
Contact Form 7
Contact form 7 is the most popular for WordPress with over 200 million downloads and over 5+ million active installs. In this section of the article, we will learn how to add address autocomplete to Contact Form 7.
Bear in mind, that it is different from the step above. However, you should be able to get it working in a few minutes.
How to add Google address autocomplete to Contact Form 7?
Adding Google address autocomplete is very simple with the Simple Address Autocomplete plugin. We will look into both adding autocomplete to an existing form as well as a new form.
Add Google address autocomplete to an existing form.
To add autocomplete to an existing form, follow these steps.
Go to Contacts in the WordPress dashboard.
Then click on Contact Forms.
Edit the form you want to add address autocomplete.
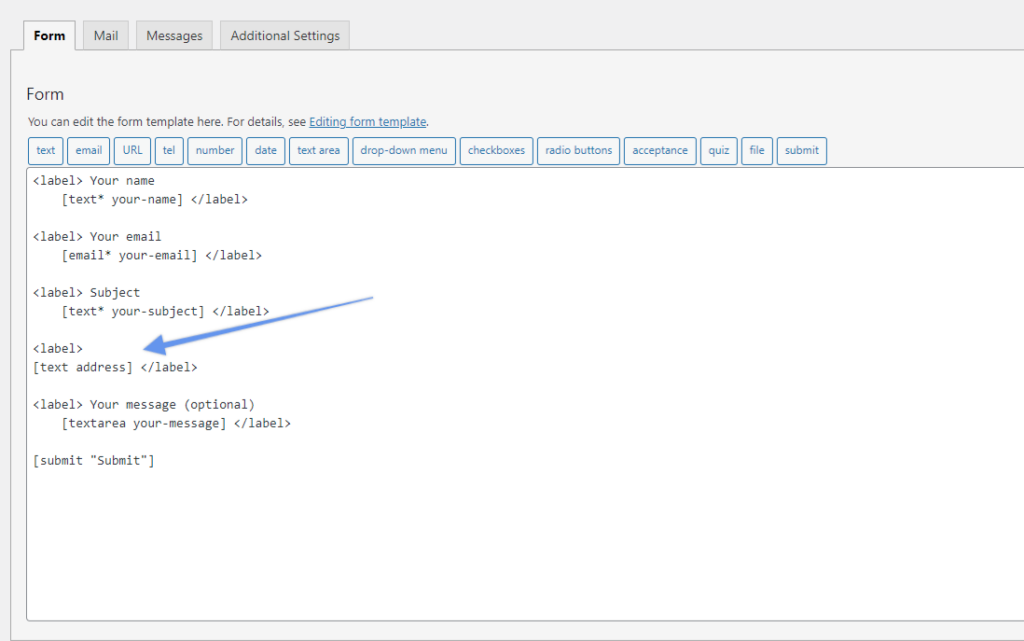
Locate the field where you want to add the address autocomplete.
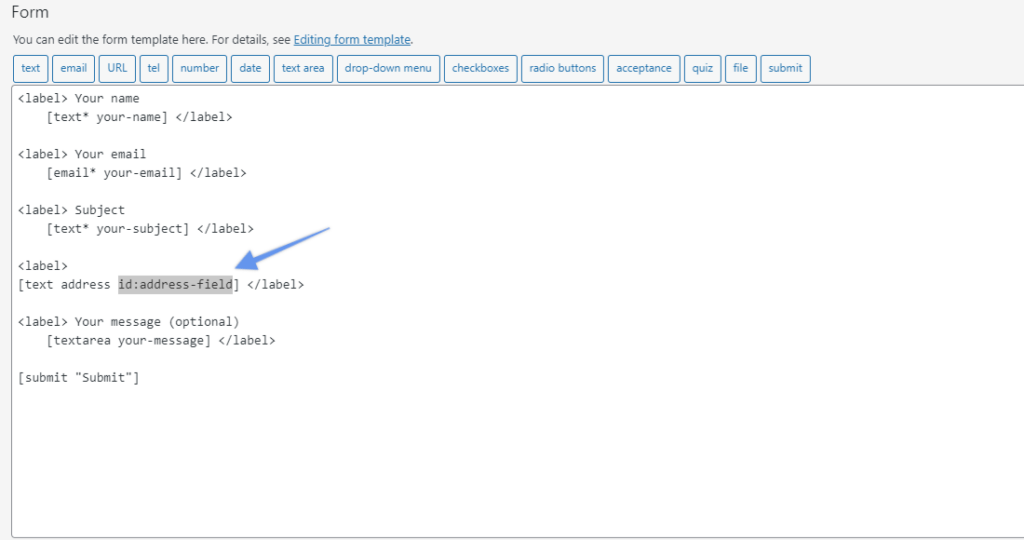
Add an id attribute to the text field.
Then save the form.
Then copy the id attribute (address-field) without the id:
Then go to the Simple Address Autocomplete settings page and enter the id in the Field IDs box.
Click Save Changes
You are done, go check the address autocomplete on the field.
Add Google address autocomplete to a new form
When adding a new Contact Form 7 form make sure to add an id attribute to it. Follow these steps.
Go to Contact in the WordPress dashboard.
Create a New Form
Name the form
Add a new Text Field. It is important that you select the TEXT field otherwise you may encounter errors
Then make sure you add an id attribute. Name it something like address-autocomplete
Click Insert Tag to add the field to the form.
Click Save to save the new form
Then copy and paste the id to Simple Address Autocomplete settings.
Click Save Changes.
Now the new form field has address autocomplete functionality.
Elementor Form
Elementor is one of the leading page builders for WordPress with over 5 million active installations at the time of writing this article. To use the Elementor form you must have Elementor Pro.
In this section of the article, we will go through step by step guide to adding the Google address autocomplete to the Elementor form.
How to add Google address autocomplete to Elementor form?
Go to the form where you would like to have the Google address complete functionality.
Find the field which you are using for address.
Right-click on the field.
Copy the id value.
Go to Simple Address Autocomplete settings and paste the id in the Field IDs box.
Click Save Changes.
Fluent Forms
Fluent Forms is another popular free drag and drop form builder for WordPress. The Fluent Forms Pro has the autocomplete option for address. However, you cannot limit the address to one or multiple countries.
In this section of the article, we will see how to add address autocomplete to Fluent Forms free. Please note, that this is a single-line address autocomplete.
Go to Fluent Forms and add a new simple text field.
Add a field label
Then click on Advanced options
Add a Name Attribute
Then Save Form.
Then click Preview & Design.
When you open Preview & Design right click on the Address field.
Copy the id value. It is prefixed with ff_number.
Then go to Simple Address Autocomplete settings and paste the id value you just copied.
Click Save Changes.
Now the field has Address autocomplete.
Conclusion
The Simple Address Autocomplete is very easy to set up and a free WordPress plugin to use Google Maps Places API to add address autocomplete to any form in WordPress. More and more businesses are moving online and this can help a ton of service providers.
The step above on how to get a field id should work for most of the forms on WordPress. However, If you would like us to add any other form how-to for this plugin please let us know in the comment below.